How to Record Vocals at Home: A Comprehensive Guide for Musicians
Recording vocals at home has become a common practice among independent musicians, music producers, and digital creators. With advances in technology, creating professional-quality recordings is more accessible than ever. In just a few simple steps and with the right tools, you can transform your home setup into a studio that rivals the best.
Let’s dive deep into how to record vocals at home effectively, ensuring that your art is captured in the highest quality possible.
Step 1: Choose the Right Equipment
Microphones
The heart of any vocal recording setup is the microphone. The choice of microphone can drastically affect your vocal sound.
- Condenser Microphones: Perfect for capturing clarity and detail, condenser mics are a favorite among vocalists. Models like the Audio-Technica AT2020 or Rode NT1 are excellent options for home recording.
- Dynamic Microphones: If you prefer a warmer sound or intend to record louder vocals, a dynamic mic like the Shure SM58 might be a suitable choice.
Investing in a good microphone does not have to break the bank. Check out Plugin Boutique for some affordable yet high-quality options.
Audio Interface
An audio interface acts as the bridge between your microphone and your computer. It converts the analog signal from your microphone into a digital format your computer understands. Look for interfaces like the Focusrite Scarlett 2i2 or the PreSonus AudioBox USB, which are user-friendly and provide excellent sound quality.
Cables and Accessories
Good-quality XLR cables ensure that your sound is transmitted without distortion. Additionally, consider investing in a pop filter to minimize plosive sounds (like “p” and “b”) and a shock mount to reduce vibrations from handling.
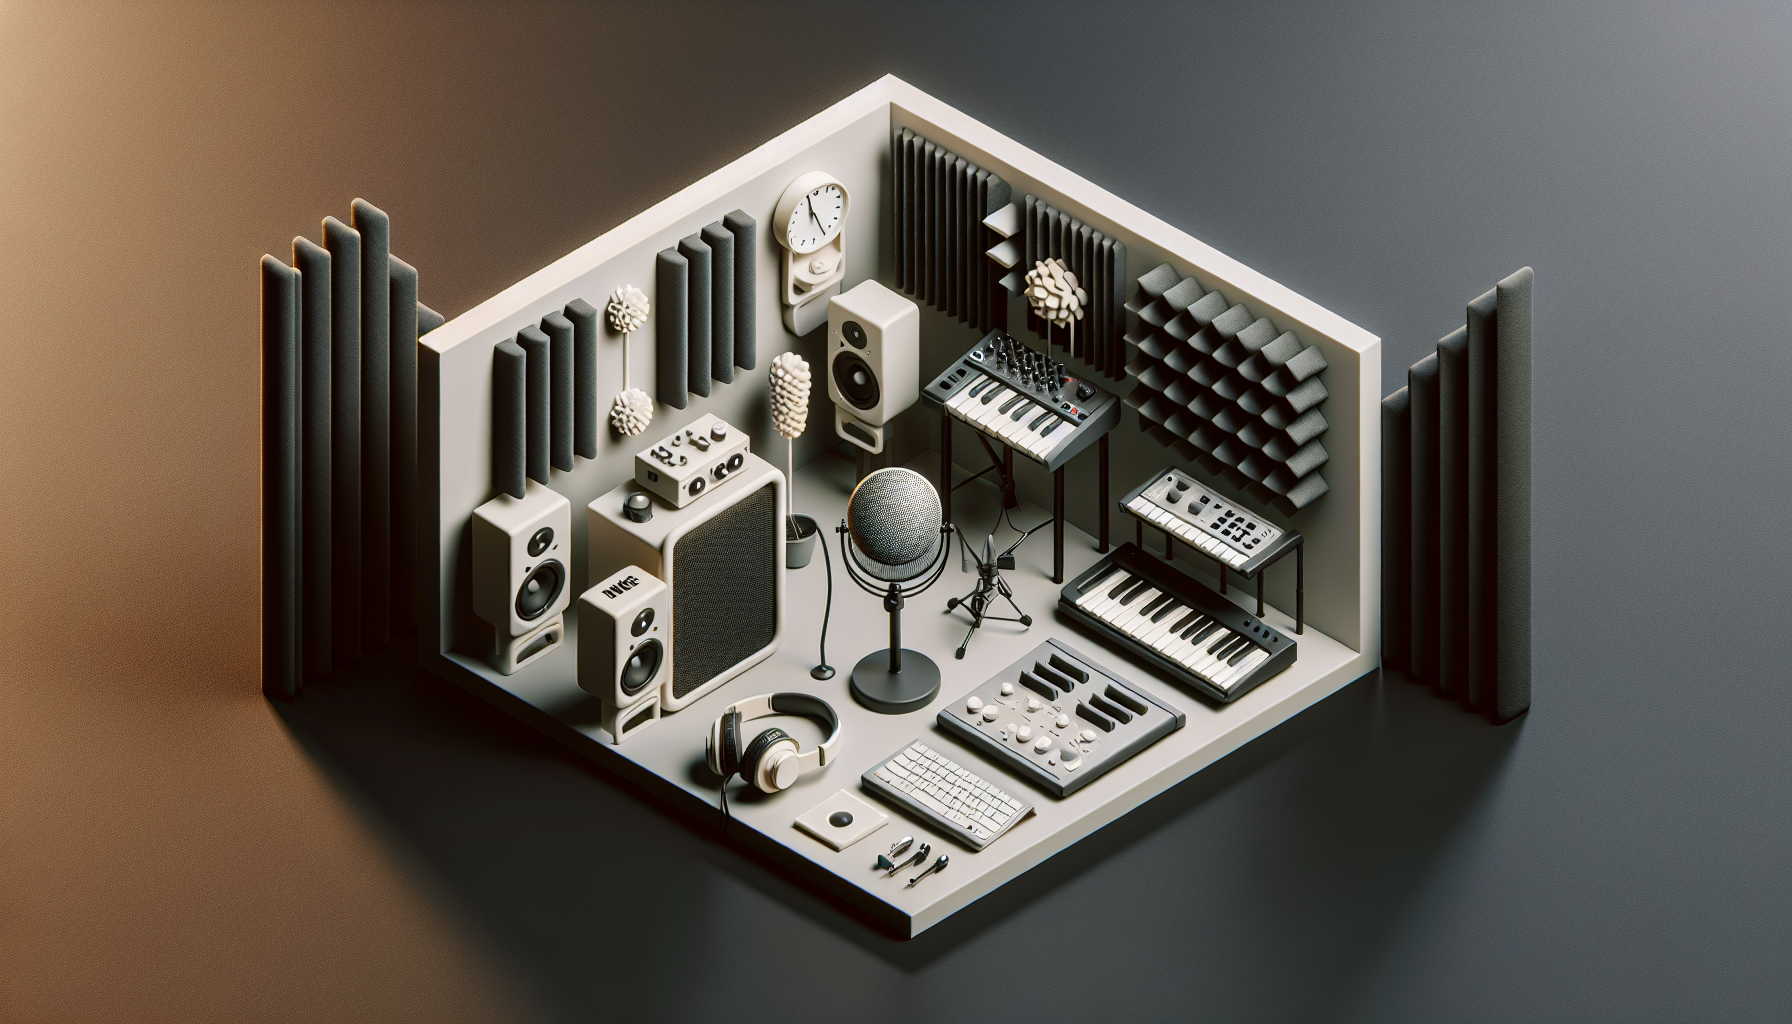
Step 2: Setting Up Your Recording Space
Find the Right Location
The location of your recording space greatly impacts the audio quality. Look for a quiet room that’s away from external noise sources. Ideally, a smaller room with soft furnishings helps to reduce echo.
Acoustic Treatment
To enhance your recording environment, consider using some basic acoustic treatments:
- Foam Panels: These help to absorb sound and prevent reflections.
- Rugs and Curtains: Adding soft furnishings can also help to dampen sound and reduce echo.
You can find great acoustic treatment solutions on VoiletStudio.
Step 3: Recording Techniques
Prepping for the Session
Before diving into recording, ensure you are well-prepared. Warm up your voice and decide on the song’s key elements to focus on during the recording session. Create a comfortable atmosphere that allows you to connect with your music.
Recording Basics
When you start recording, keep these points in mind:
- Distance from the Mic: Maintain an appropriate distance from the mic (about 6 inches is a good starting point). Too close can cause booming; too far can result in a lack of detail.
- Use Headphones: Wearing closed-back headphones while recording helps prevent bleed from the backing track into your vocal mic.
Bonus Tip: Consider recording multiple takes to capture different nuances in your performance. You can later pick and choose the best parts during editing.
Step 4: Editing and Mixing Your Vocals
Software and Plugins
To edit and mix your recorded vocals, you’ll need a Digital Audio Workstation (DAW). Options like Ableton Live, Logic Pro, or FL Studio offer powerful tools to perfect your tracks.
You might also want to enhance your vocals with plugins