How to Mix and Master at Home: A Step‑by‑Step Guide for Indie Artists
Introduction
Every indie artist wants their music to sound like it was mixed in a high‑end studio. But with a laptop and a few plugins, you can achieve a polished, radio‑ready track without breaking the bank. Let’s uncover the secrets to mixing and mastering at home so your music truly shines.
1. Get the Right Gear: What You Need to Start Mixing and Mastering
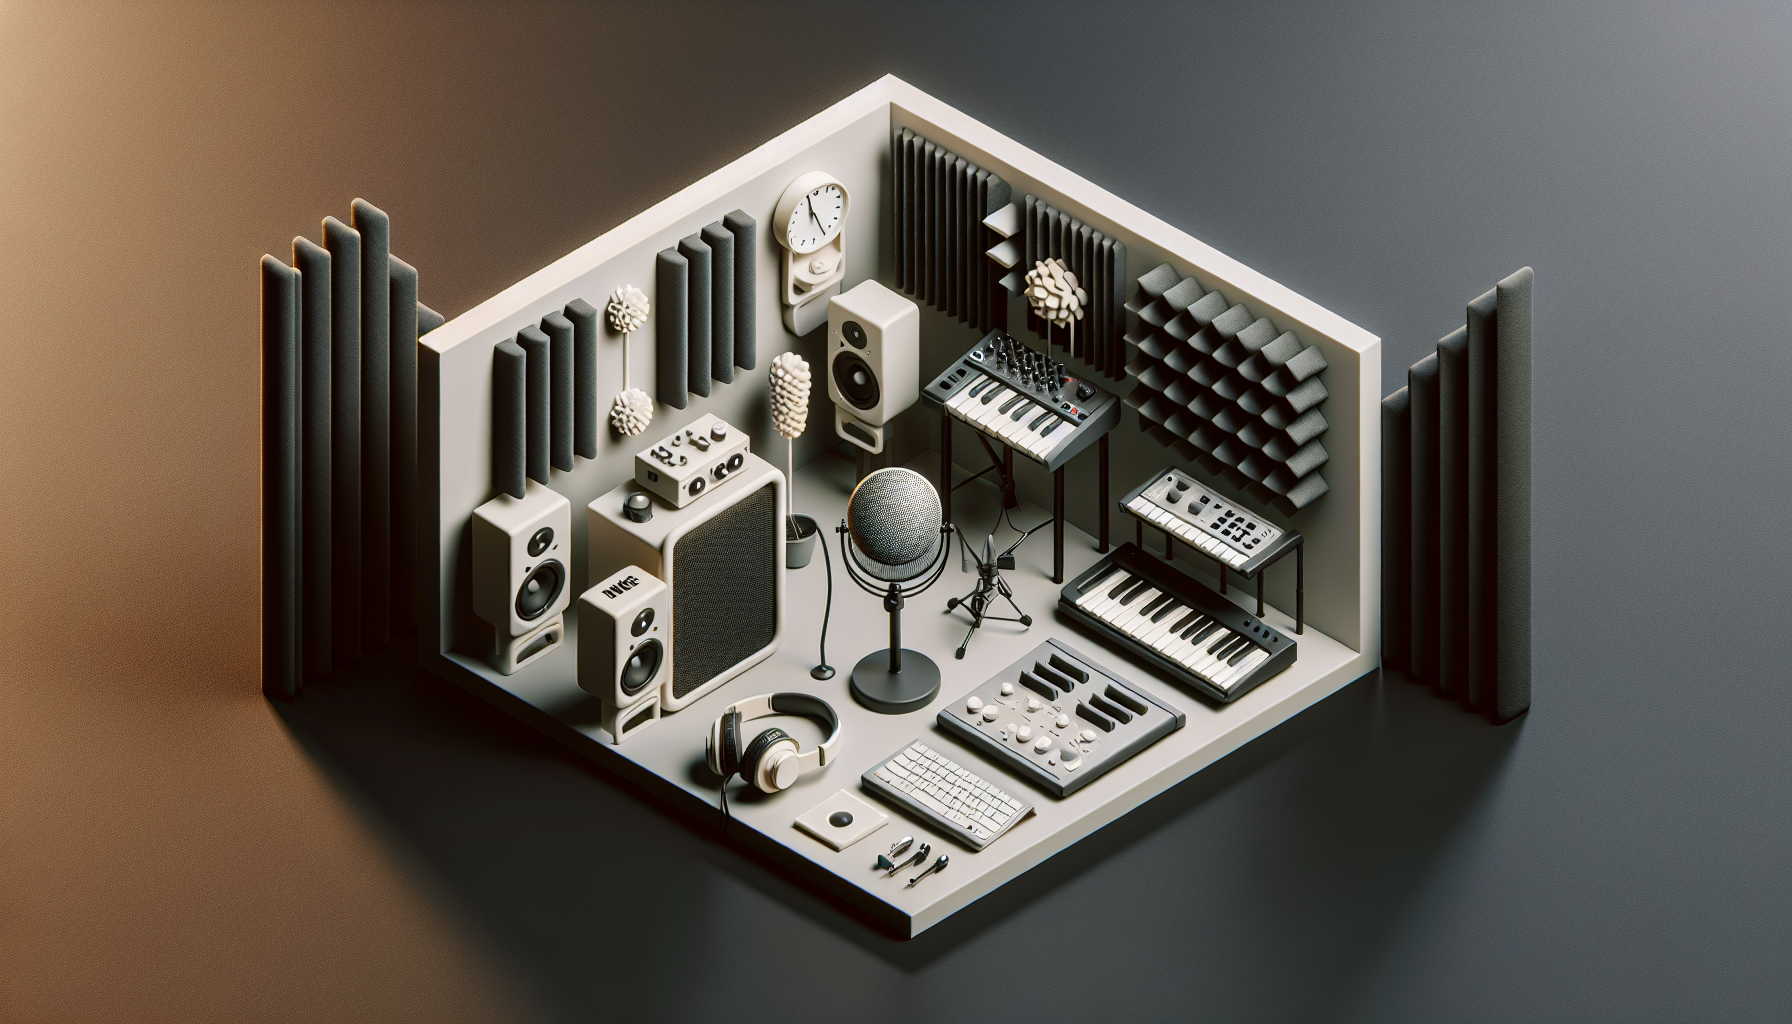
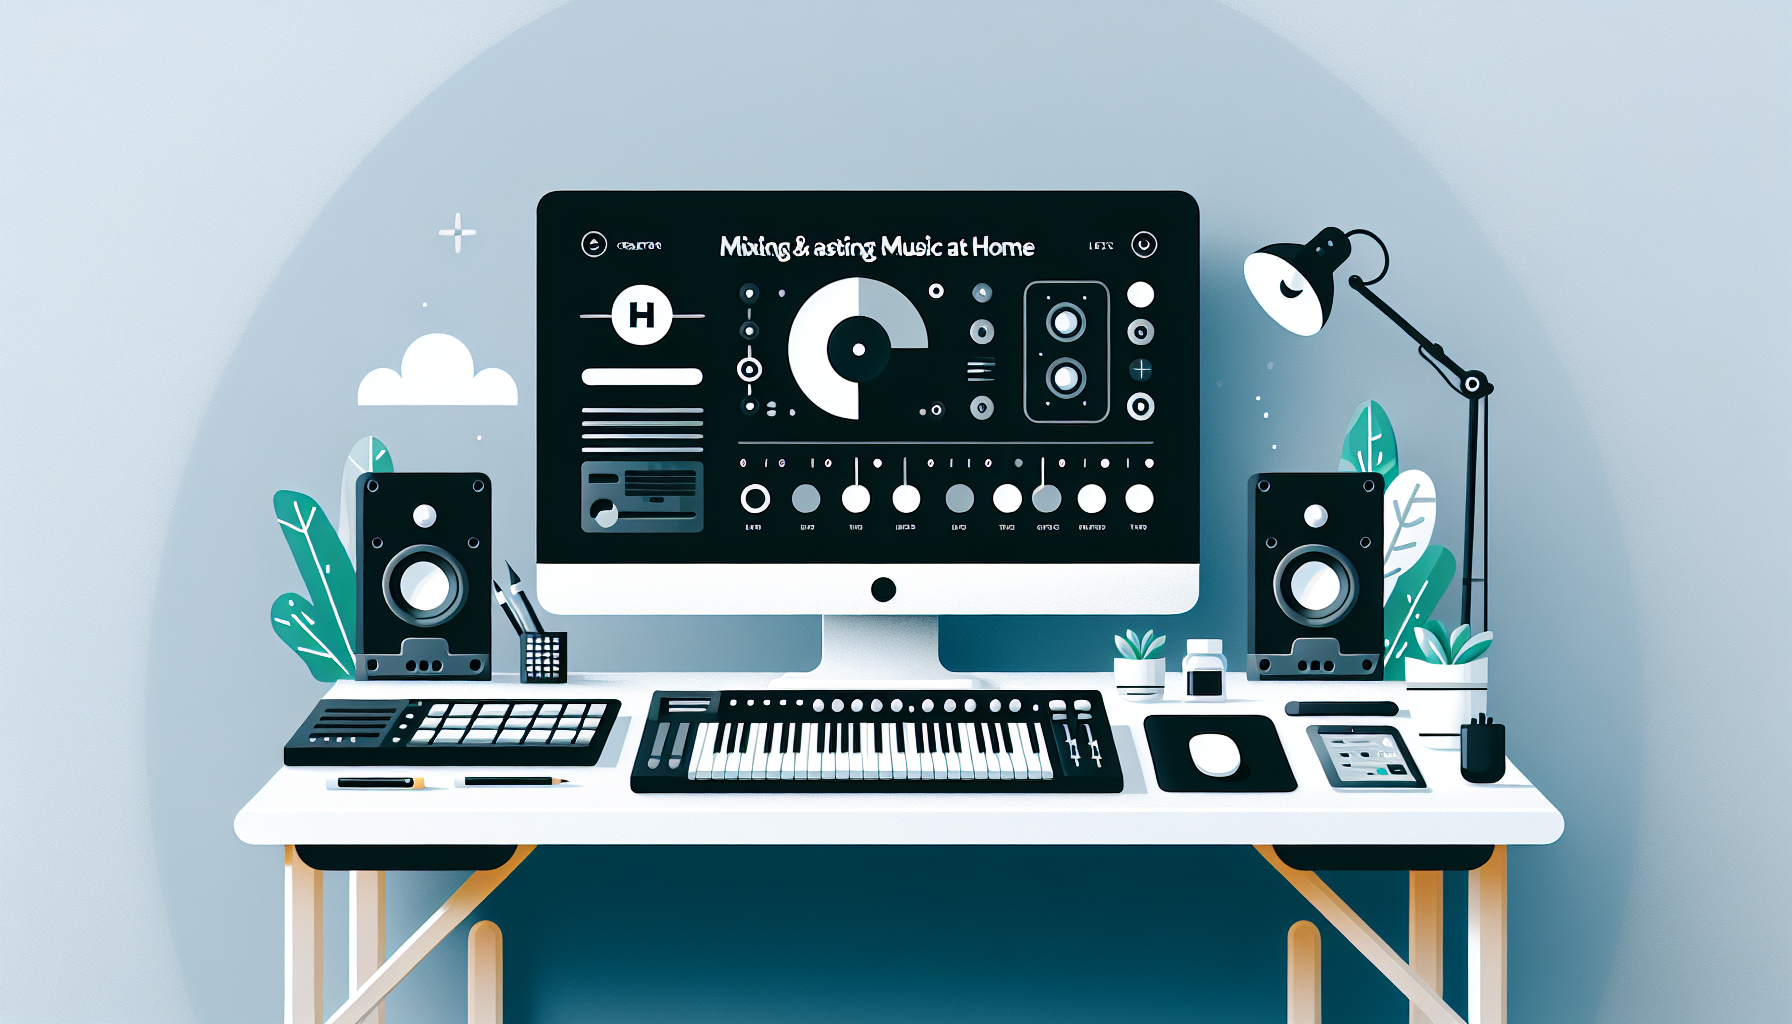
A solid foundation of hardware and software is the cornerstone of successful home production. Start with a decent digital audio workstation (DAW) such as Ableton Live, FL Studio, or Reaper, and pair it with a high‑quality audio interface to ensure low latency and pristine signal conversion. For monitoring, invest in reference headphones and studio monitors that accurately reproduce your mix; brands like KRK, Yamaha, and JBL offer great entry‑level options.
Acoustic treatment is often overlooked but crucial. Even a simple DIY panel—foam wedges or a DIY brick wall—can reduce room reflections and provide a neutral listening environment. When it comes to plugins, consider a bundle from Plugin Boutique, which offers a variety of free and affordable plugins that cover EQ, compression, saturation, and more.
- Essential DAW Features
– Clip gain controls
– Session view for track organization
– Extensive plugin support
- Why Quality Monitors Matter
– Accurate frequency response
– Flat loudness curves
- Acoustic Treatment Hacks
– DIY gobos for isolation
– Bookshelves as diffusers
2. Master the Basics: Understanding Frequency, Dynamics, and Stereo Imaging

A good mix relies on a clear separation of frequencies, controlled dynamics, and a balanced stereo image. Use a high‑pass filter on every track to eliminate unnecessary low‑frequency rumble, and apply EQ to carve out space for each instrument. Compression should tame peaks without squashing the natural dynamics; experiment with ratio, attack, and release settings to fit each track’s character.
Stereo imaging gives depth and width to your mix. Panning decisions should place instruments in a coherent space while maintaining focus on the center channel for vocals and bass. Simple techniques—like subtle mid‑side processing or stereo widening plugins—can enhance the perceived width without causing phase issues.
- EQ Techniques
– High‑pass on non‑bass tracks
– Mid‑range cuts for clarity
– Presence boost for leads
- Compression Fundamentals
– Light ratios for drums
– Fast attacks for percussive hits
- Stereo Imaging Tips
– Keep vocals centered
– Use mid‑side EQ for width
3. The Mixing Workflow: From Rough Mix to Final Polished Sound
Start by level balancing: set each track’s fader to a rough volume that sounds cohesive. Next, apply panning to create a stereo field, followed by EQ and compression on a track‑by‑track basis. Automate volume, panning, and effect parameters to add movement and maintain interest.
Once the individual tracks feel solid, bus or group processing can unify similar elements—like drum groups or vocal ensembles—using a shared EQ, compressor, or reverb. Finally, apply a master bus chain with a gentle compressor, a multiband dynamics processor for tonal balance, and a limiter to set the final loudness.
- Rough Mix
– Fader balance
– Basic EQ
– Initial compression
- Bus Processing
– Drum bus with a transient shaper
– Vocal bus with subtle reverb
- Master Bus Chain
– Gentle compressor (ratio 2:1)
– Multiband dynamics
– Limiter with threshold control
4. Mastering at Home: Techniques to Make Your Track Shine on Every Platform
Mastering is the final polish that ensures your track translates across headphones, car speakers, and streaming services. Begin by importing your stereo mix into a new session and apply a linear‑phase EQ to correct any lingering tonal issues. A multiband compressor can even out the dynamics across the frequency spectrum.
The key mastering tool is the brick‑wall limiter, which increases overall loudness while preventing clipping. Adjust the release and threshold to preserve transients and maintain musicality. End the process with a dither if you’re reducing the bit depth, and export in both 24‑bit WAV and 16‑bit FLAC formats for versatility.
- EQ and Dynamics
– High‑pass at 20 Hz to remove subsonic rumble
– Low‑end boost for punch, high‑end cut for harshness
- Limiting
– Threshold set for -0.1 dBFS peak
– Release time around 200 ms
- Dithering
– Apply before reducing bit depth
– Choose “t‑PDF” for best audio quality
If you want professional mastering without hiring a full‑time engineer, consider using a platform like Fiverr where experienced mastering engineers offer affordable services.
5. Troubleshooting Common Home Mixing & Mastering Problems
Home studios often face issues like phase cancellation, monitor bias, or low signal‑to‑noise ratios. To avoid phase problems, keep your tracks mono where appropriate and check for any phase inversion settings. Monitor bias can distort the perceived loudness; calibrate your speakers with a reference track or use a power conditioner.
When the audio sounds thin or muffled, check your room acoustics and the placement of your monitors. If your mix sounds too loud on the DAW but not on headphones, verify that your audio interface’s gain staging is correct.
- Phase Issues
– Check for left/right channel inversion
– Use phase meter plugins
- Monitor Bias
– Calibrate with a reference track
– Inspect speaker cables
- Room Acoustics
– Add bass traps in corners
– Use reflective panels strategically
Pros / Cons of Mixing and Mastering at Home
Pros
- Cost‑effective: No studio rental or session engineer fees
- Creative control: Work on your own schedule and tweak as you wish
- Immediate results: Hear changes instantly without waiting for a studio turnaround
Cons
- Limited equipment: Studio‑grade gear can be expensive
- Subjective listening: Home monitors may not reveal all mix issues
- Time‑consuming: Learning to use plugins and mastering techniques can take time
FAQ
Q: Do I need a professional audio interface for home mixing?
A: A mid‑range interface that offers low latency and clean conversion (e.g., Focusrite Scarlett or Audient iD series) is usually sufficient for most indie producers.
Q: How do I know when my mix is ready for mastering?
A: When all tracks are balanced, EQ and dynamics are applied, and the mix sounds cohesive in mono and stereo, you’re ready to master.
Q: Can I use free plugins for mastering?
A: Yes—there are quality free mastering plugins like iZotope Ozone Elements Lite or TDR Kotelnikov. However, investing in a paid suite like Plugin Boutique can give you more precision.
Conclusion
Mastering the art of mixing and mastering at home unlocks a world of creative freedom and financial savings for indie musicians. With the right gear, workflow, and a dash of practice, you can produce tracks that rival professional studios. Ready to take your sound to the next level? Explore Hostinger for hosting your music website, or find a mastering pro on Fiverr today. Your listeners—and your bank account—will thank you.