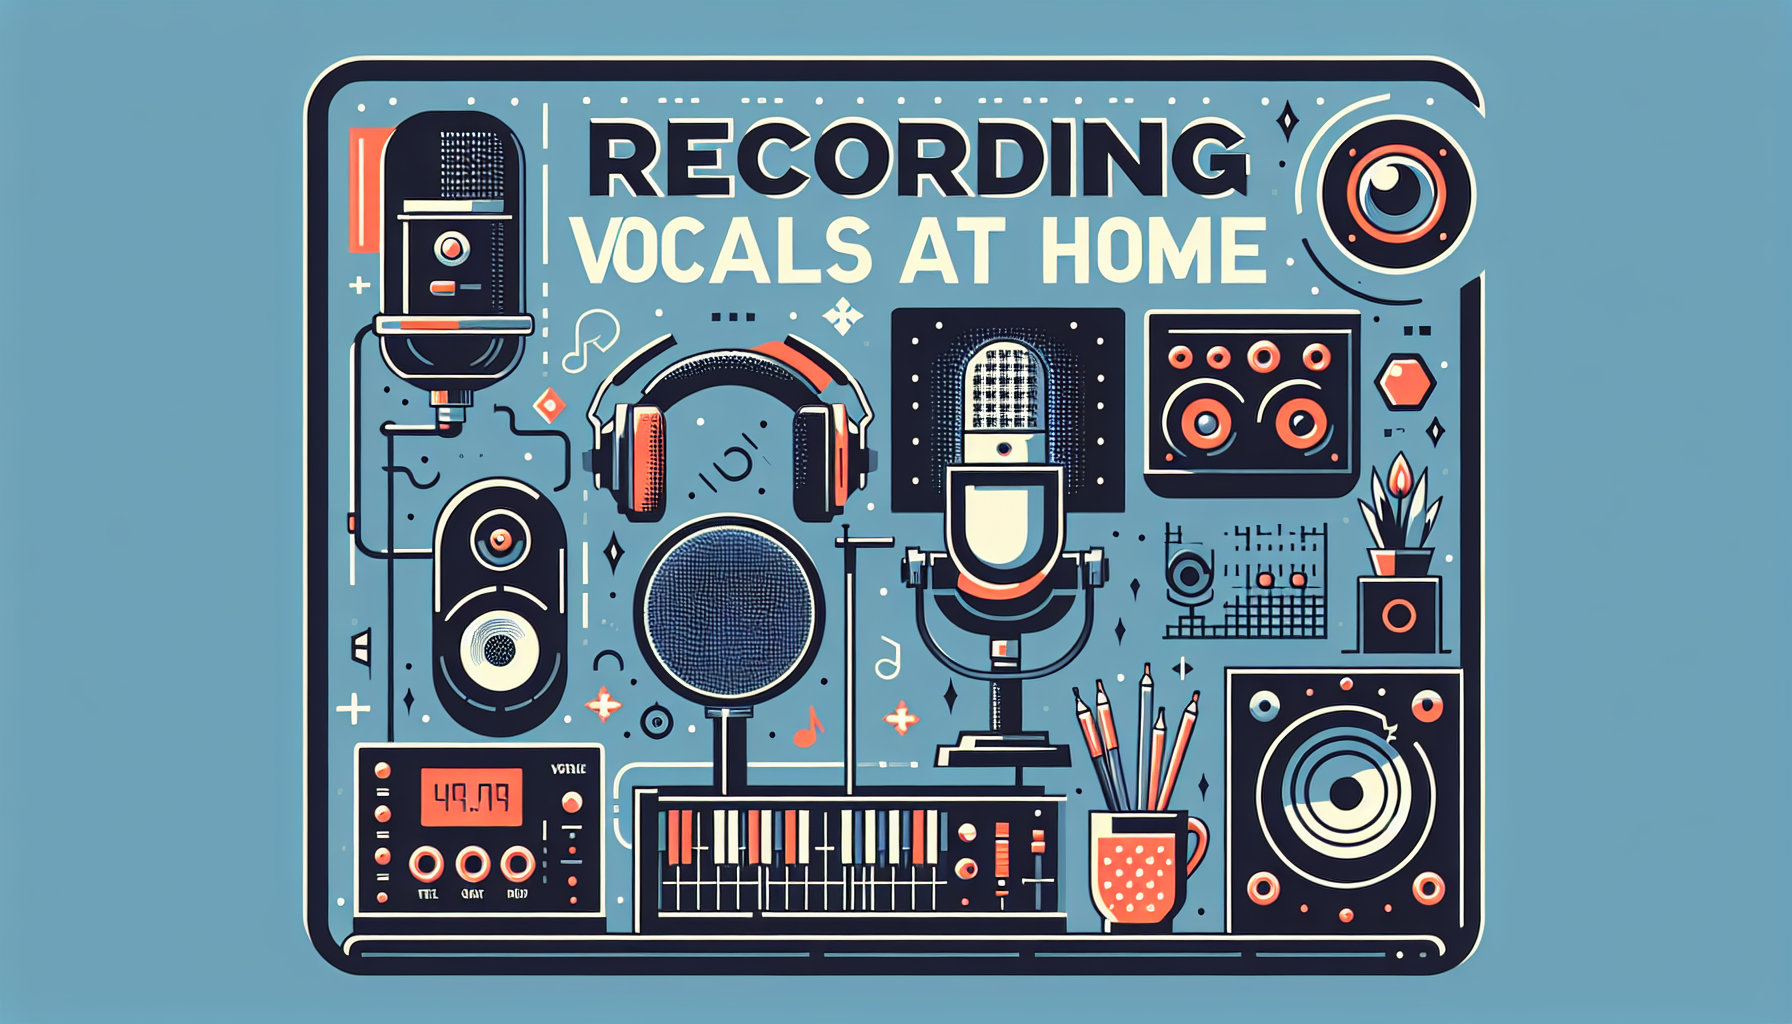
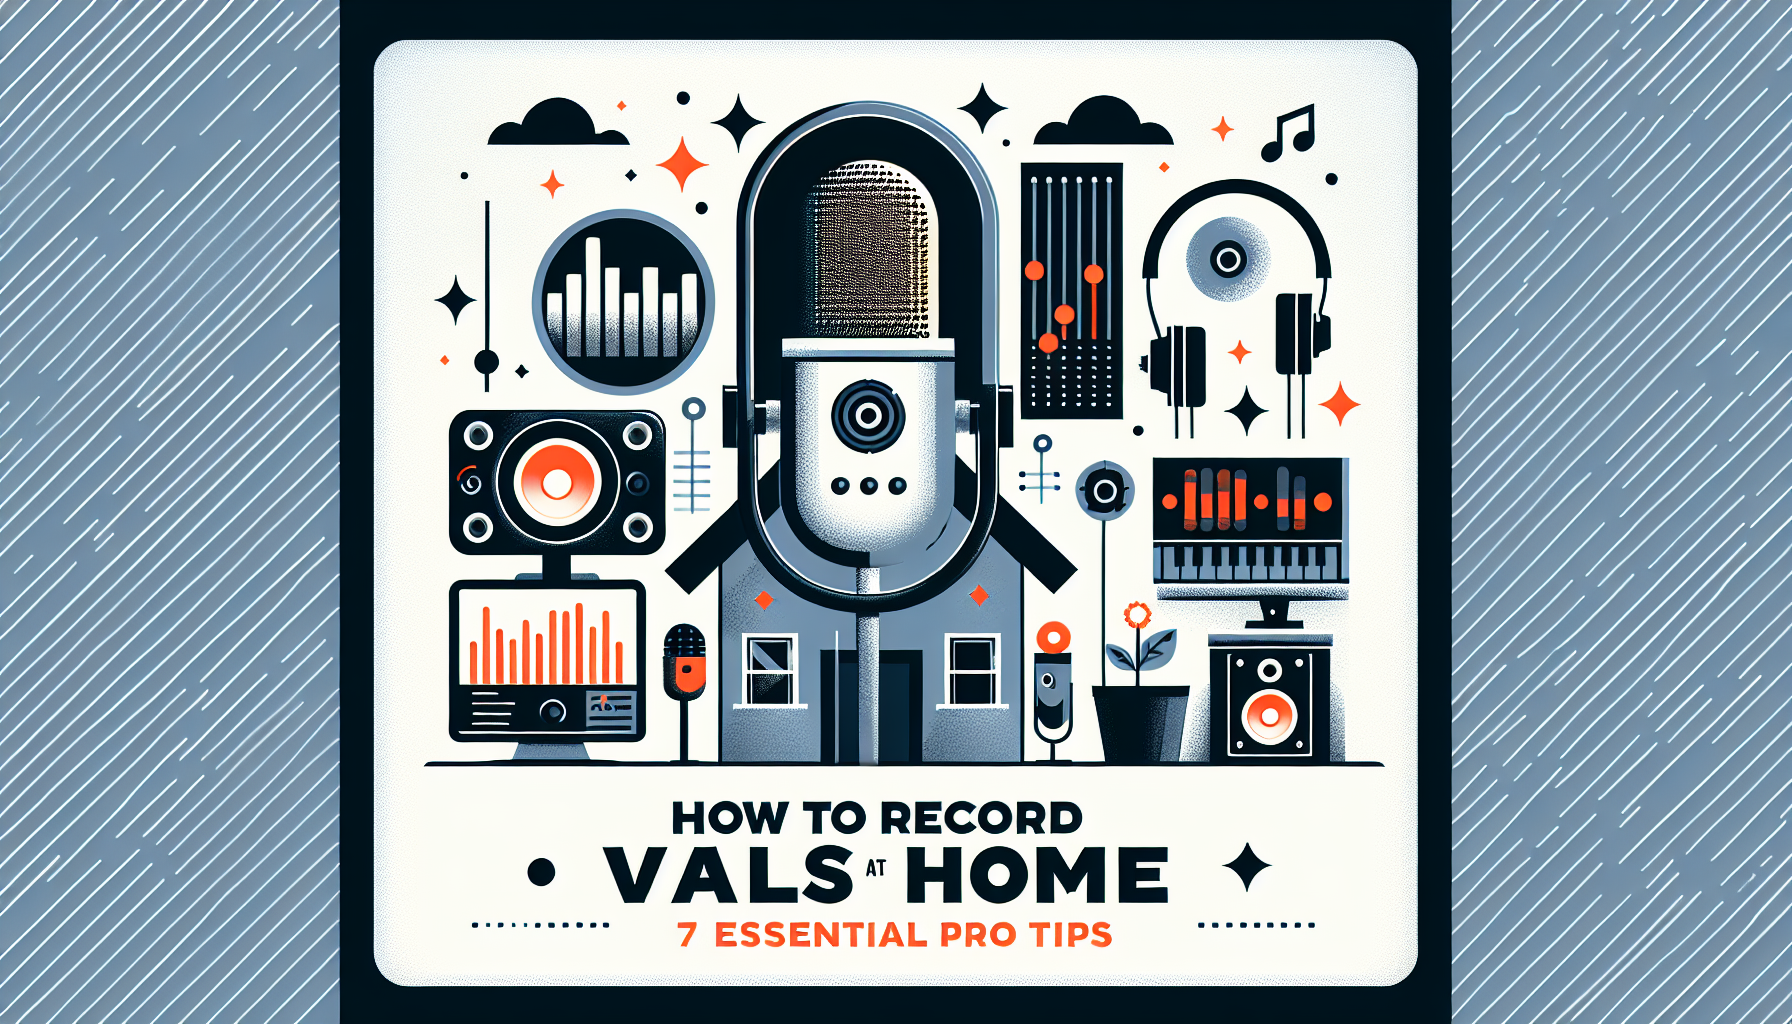
How to Record Vocals at Home: 7 Essential Pro Tips
1. Set Up Your Recording Space
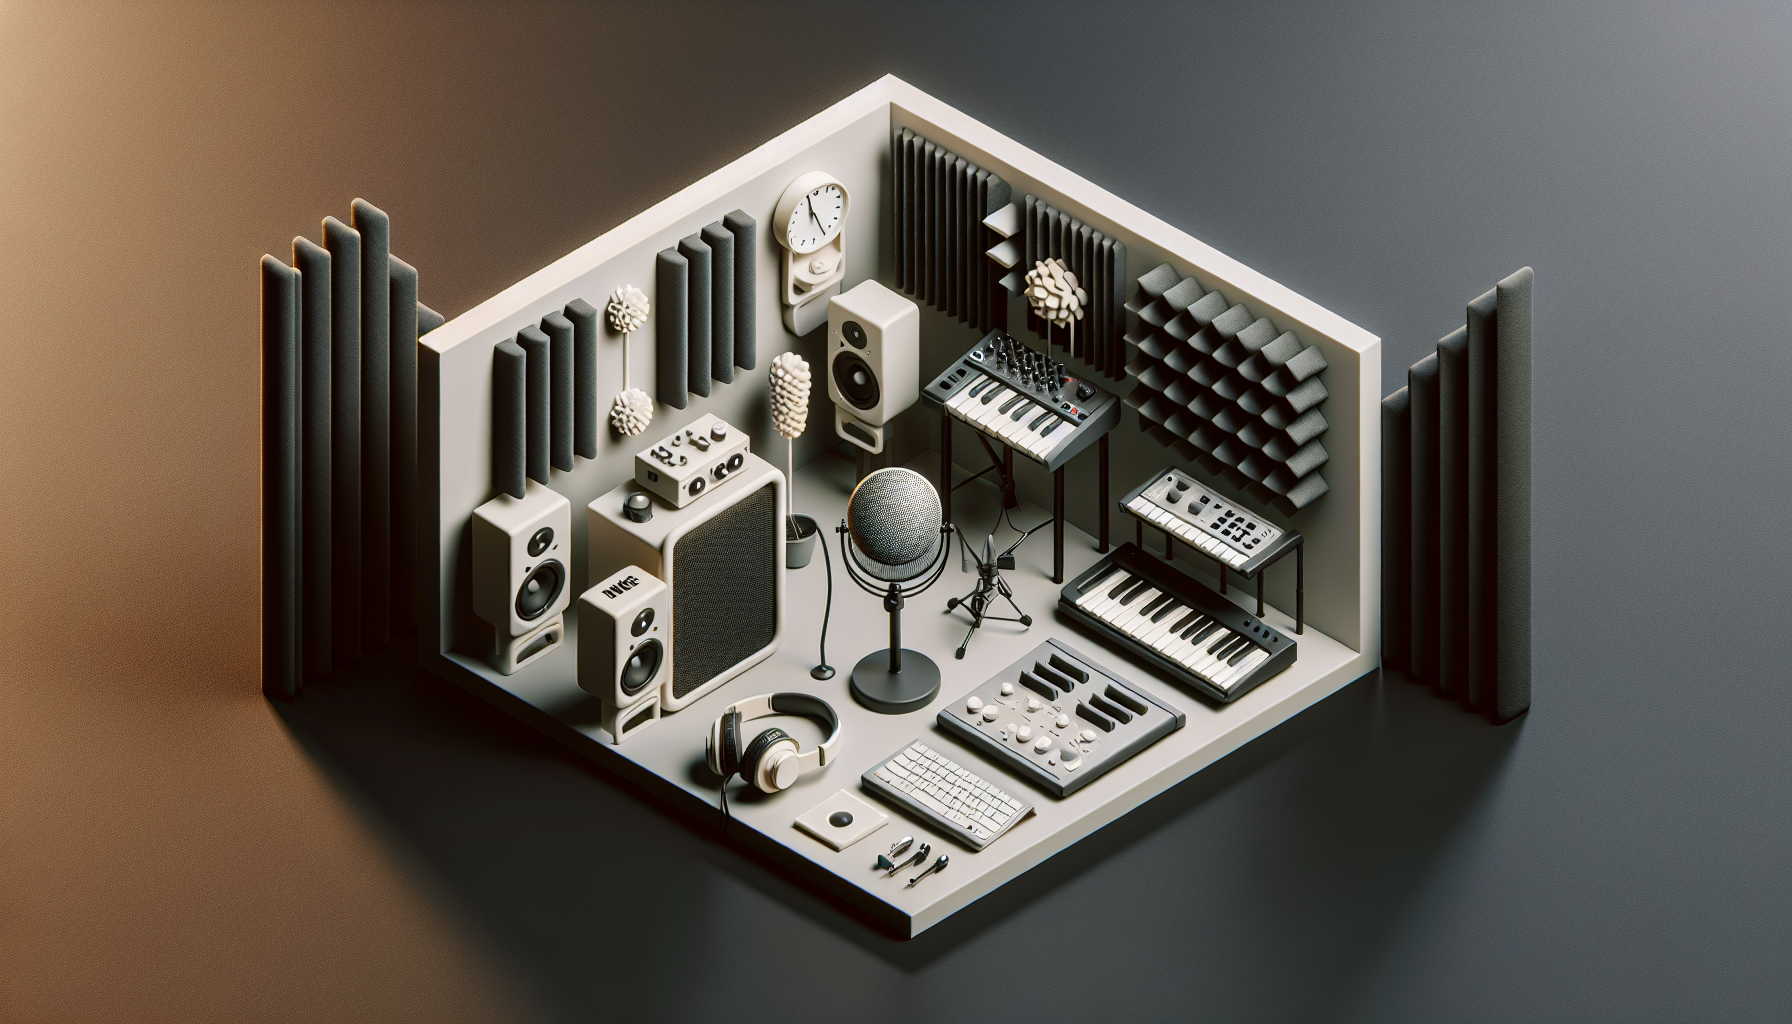
Choosing the right room is the first pillar of a great vocal recording. Look for a small, carpeted room with few windows and minimal foot traffic. Even a closet can work if you line the walls with foam panels or blankets to absorb reflections.
Acoustic treatment matters—without it, you’ll hear unwanted room reverb and flutter echoes that muddy your vocals. If you can’t afford professional panels, DIY solutions like egg cartons, moving‑bed mattresses, or even bookshelves filled with books can dramatically improve sound quality.
Choosing the Right Room
- Keep the room size small enough that you can control reflections but large enough for comfortable movement.
- Use heavy curtains or drapes to block external noise.
- Avoid rooms with large metal surfaces that can create bright, harsh reflections.
DIY Acoustic Treatment Tips
- Hang a towel or blanket over a mirror to create a makeshift sound booth.
- Place foam panels or acoustic tiles at the first reflection points—about 1 foot from your mic.
- Use bass traps in corners to tame low‑frequency build‑up that can distort vocal clarity.
2. Pick the Right Microphone and Accessories
The microphone is the bridge between your voice and the digital world. Two popular types are dynamic and condenser microphones. Dynamic mics are rugged and excellent for high‑gain sources; condenser mics capture nuance and detail, making them the preferred choice for home vocalists.
Investing in a pop filter and a shock mount is non‑negotiable. The pop filter reduces plosive consonants like “p” and “b,” while the shock mount eliminates mechanical vibrations that can transmit through the mic stand.
Microphone Types for Home Studios
- Dynamic: Great for loud sources and beginners; think Shure SM58 or Sennheiser e 835.
- Condenser: Offers a wide frequency response and sensitivity; consider Audio-Technica AT2020 or Rode NT1.
Must‑Have Accessories
- Pop Filter: A simple nylon or foam screen that sits between you and the mic.
- Shock Mount: A padded cradle that isolates the mic from stand vibrations.
- Boom Arm: Allows flexible mic positioning without a bulky stand.
If you’re looking to upgrade, Plugin Boutique offers a range of premium microphones and accessories at competitive prices.
3. Master Your Mic Technique
Technique can make or break your vocal take. Start with proper mic placement: position the mic about 6 to 12 inches from your mouth and slightly off‑center to avoid direct plosives. Angle the mic so the diaphragm faces the center of your mouth, creating a natural balance between proximity effect and clarity.
Proper Mic Placement
- Distance: 6–12 inches for most singers; closer for a more intimate sound, further for a breathier tone.
- Angle: 45° off the axis for a balanced sound and to reduce sibilance.
- Level: Keep your loudest peaks around -6 dBFS to avoid clipping.
Vocal Warm‑Up Routine
- Lip trills and tongue trills loosen the vocal cords.
- Scales on a sustained vowel (“ah”) help maintain consistent tone.
- Breathing exercises—inhale for 4 counts, exhale for 8 counts—keep airflow steady.
A solid warm‑up not only improves performance but also protects your voice for longer sessions.
4. Record in the Right Format and Settings
Choosing the correct sample rate and bit depth ensures you capture every nuance of your performance. For vocal recordings, 44.1 kHz at 24‑bit is the gold standard. This provides ample headroom for processing and retains detail for high‑resolution playback.
Use a reliable Digital Audio Workstation (DAW)—reliable options include Reaper, Logic Pro, or Ableton Live. Most DAWs allow you to set a buffer size; a smaller buffer (e.g., 64–128 samples) gives lower latency but can tax your CPU.
Setting Up Your DAW
- Track: Record on a mono track with a line‑in or USB mic input.
- Input Gain: Aim for 0 dBFS peak with a 3‑dB safety margin.
- Monitoring: Use direct monitoring to hear yourself without latency.
If you need to host or share your demos online, Hostinger offers affordable, fast hosting plans that can keep your project files safe and accessible.
Recording Workflow Tips
- Record multiple takes and label them clearly (e.g., “Verse1_Take1”).
- Use a metronome or click track to maintain consistent tempo.
- Capture a background reference track for later use if you want to blend your vocals with instrumentals.
5. Edit, Process, and Polish Your Vocals
After you’ve captured the raw performance, the real artistry begins. Comping—selecting the best bits from each take—creates a flawless performance. Use a poly‑phonic or mono comping feature in your DAW to automate this process.
Once you’ve established the perfect track, it’s time to add EQ, compression, and de‑essing. These tools shape the tonal balance, control dynamics, and tame sibilant frequencies.
The Comping Process
- Select the best vocal snippets: high energy, clear diction, perfect pitch.
- Align clips to the same time base to avoid phasing.
- Blend transitions smoothly to avoid audible cuts.
Processing Essentials
- EQ: Slightly boost high mids (2–4 kHz) for clarity; roll off low mids if muddy.
- Compression: Set a 3:1 ratio with a medium attack and release to tame peaks.
- De‑esser: Target 5–8 kHz to control harsh sibilance without losing brightness.
For sample libraries and loops, Splice offers thousands of high‑quality vocal loops, chord progressions, and percussion snippets that can inspire or supplement your track.
If you’re looking to add background music, Epidemic Sound provides royalty‑free tracks that you can legally use in your releases—just be sure to attribute correctly.
Final Polish
- Add a subtle reverb to place the vocal in a space.
- Use a limiter on the master bus to maximize loudness without clipping.
- Export the final mix in WAV for distribution, then convert to MP3 or AAC for streaming.
6. Pros and Cons of Home Vocal Recording
Pros
- Cost‑effective: No studio rental fees.
- Convenience: Record anytime, anywhere.
- Creative control: Experiment with mic setups and effects.
Cons
- Acoustic challenges: Rooms can add unwanted reflections.
- Limited gear: High‑end equipment may be beyond budget.
- Learning curve: Requires time to master mic technique and editing.
By understanding these trade‑offs, you can decide how to allocate resources—whether to invest in better acoustic treatment or to focus on mastering vocal techniques.
FAQs
Q: Do I need a microphone preamp for home vocal recording?
A: Many USB microphones come with built‑in preamps that deliver clean, low‑noise signals. If you’re using an XLR mic, a simple USB preamp like the Focusrite Scarlett 2i2 will give you plenty of headroom and quality.
Q: How do I prevent background noise during recording?
A: Use a noise gate plugin to cut out ambient sounds when you’re not singing. Additionally, recording in a quiet room with doors closed and using a pop filter will reduce hiss and sibilance.
Q: Can I distribute my songs after recording?
A: Absolutely. Platforms like DistroKid simplify global distribution to Spotify, Apple Music, and more. Sign up through the affiliate link to enjoy discounted rates for indie creators.
Conclusion
Recording vocals at home is a powerful skill that unlocks creative freedom and saves money. By selecting the right space, gear, and techniques—and by polishing your tracks with thoughtful editing—you can produce professional‑sounding vocals right from your living room.
Ready to turn your home studio into a hit‑making machine? Check out our curated gear list, join a vocal coaching gig on Fiverr to refine your technique, and start sharing your music with the world via DistroKid today.